
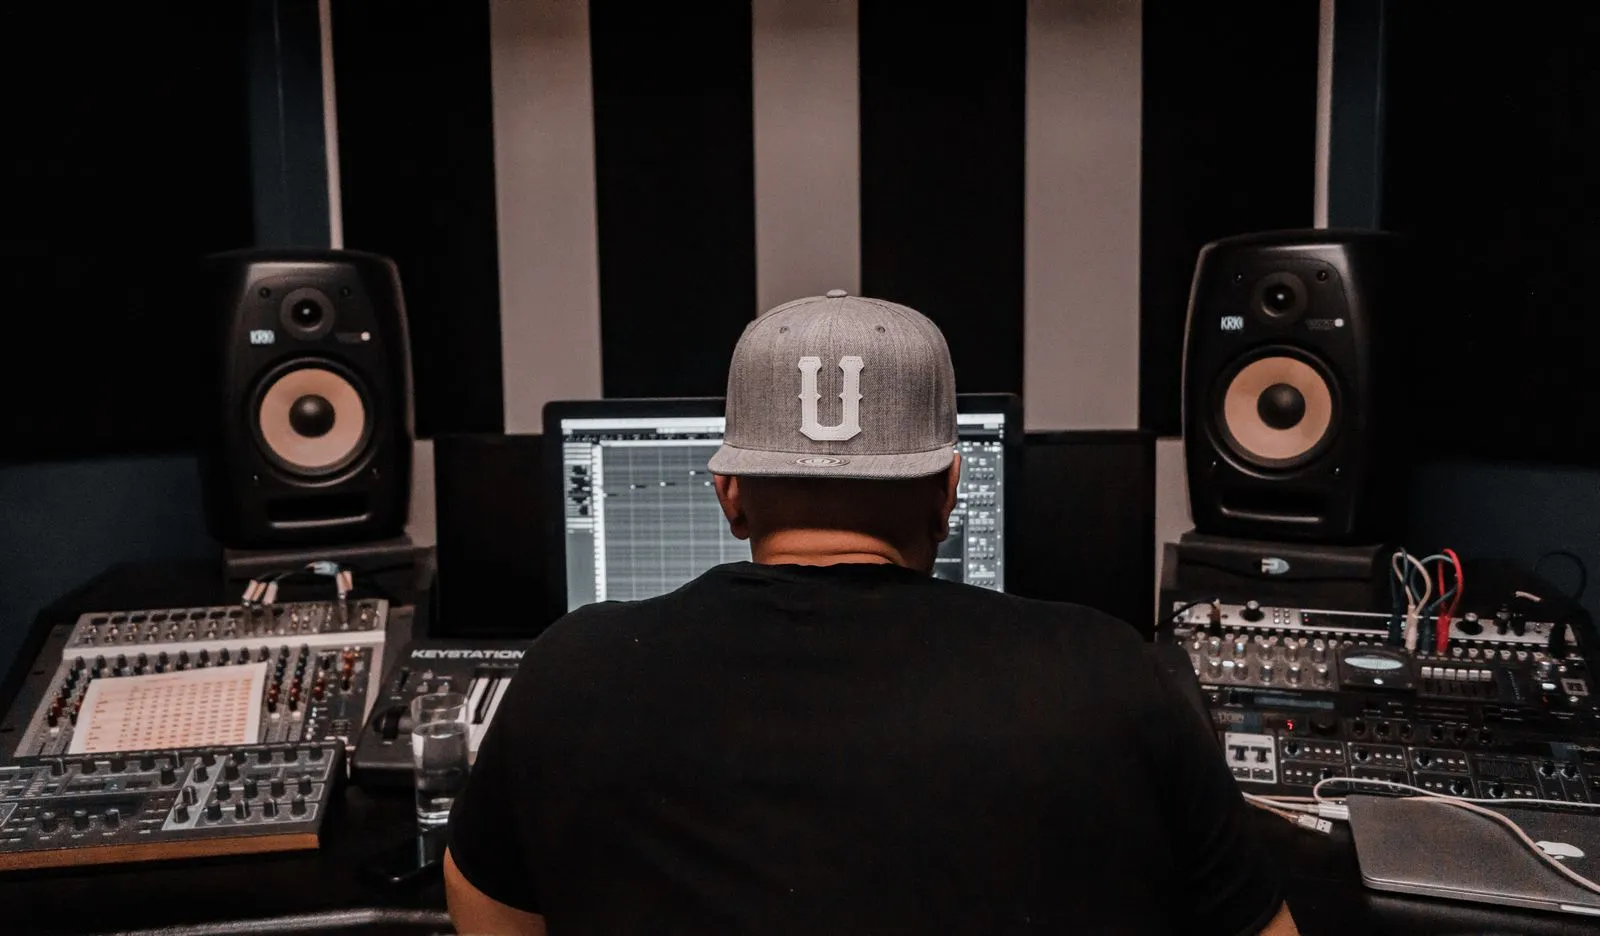
A little preparation can make a studio recording session calmer and more productive. Before you arrive, confirm what equipment is available, organize the files you will need, and agree on a realistic plan for the session. These steps help you spend less time troubleshooting and more time recording. Whether you are working alone or with a team, use this checklist to arrive ready, adapt when needed, and leave with a clear understanding of what comes next.
Check Equipment Before You Go
Confirm which microphones, stands, headphones, cables, and recording tools are included with the studio. Ask about compatibility with your laptop or other devices, and find out whether you need to bring adapters, a specific interface, or your own headphones. If you plan to use instruments or specialty gear, confirm that the room can accommodate them before session day.
Test your personal equipment in advance. Charge batteries, bring power supplies, and check that microphones and instruments work with the cables you plan to use. Save any required drivers or software updates for before the session, not the day of. Pack a short list of essentials, such as storage media and adapters, and keep small items together so they are easy to find.
Organize Your Recording Files
Collect scripts, reference tracks, backing tracks, session templates, and other materials in one clearly named folder. Use descriptive filenames and remove duplicate or outdated versions. If several people will work with the files, agree on which version is current and label any alternate takes or edits so nobody has to guess.
Check file formats and playback before arriving. Confirm that tracks open in the software you expect to use, that audio starts at the intended point, and that the levels are usable. Keep a second copy on a separate drive or secure storage location. Bring the original files as well as any converted versions, and avoid relying on an email link or internet connection for essential materials.
Plan the Session Schedule
Set a clear goal for the session, such as recording a finished voiceover, tracking several song parts, or capturing a set of interview responses. Break that goal into steps and estimate how much time each will need, including setup, sound checks, breaks, and file export. Prioritize the most important recording while everyone is fresh, and leave a little room for unexpected retakes.
Share the plan with everyone attending. Confirm the start time, studio access details, who is responsible for each task, and when you need to wrap up. Ask participants to arrive ready, with scripts reviewed and questions raised beforehand. If the session depends on another person or piece of equipment, confirm their availability in advance so a preventable delay does not consume recording time.
Make Recording Time Count
Arrive with enough time to settle in and set up, but avoid making major creative decisions at the microphone. Keep water nearby, silence phones, and reduce avoidable background noise. For spoken recordings, mark script changes clearly and keep a printed or accessible copy available. For music, tune instruments and warm up before the scheduled recording begins.
Record a short test and listen back before moving into full takes. Check for clipping, unwanted room noise, microphone placement issues, and monitoring levels. Save work at sensible milestones, label takes as you go, and note the strongest versions. At the end, confirm which files were recorded, where they are saved, and whether you need exports, backups, or another session.
Preparation does not need to be complicated: check the gear, organize the files, agree on a schedule, and keep the session focused on its main goal. A clear plan also makes it easier to handle changes without losing track of important work. Use this checklist before your next recording, and contact Steel City Studio if you need help planning your studio time.